Categories
Mods

Wrenching With My Son

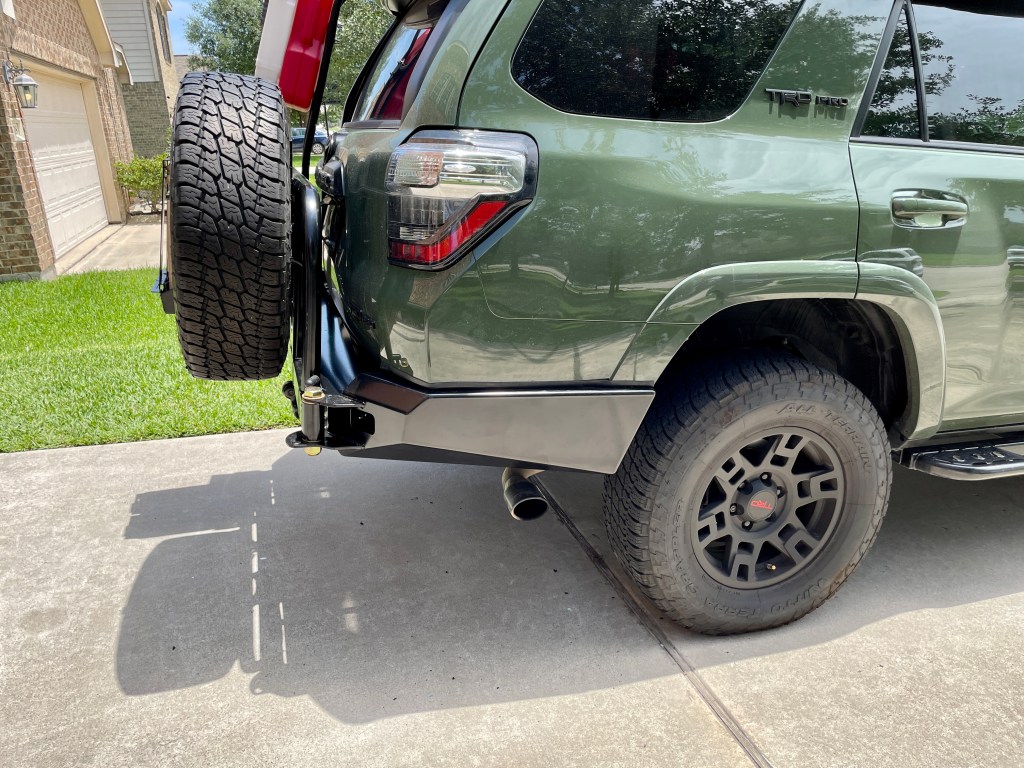
Yesterday (Labor Day in the US), my son Brendon and I took the day off to do some final work on both of our vehicles. We started with the Apex Overland recovery points that came off the Gunship when we put the Shrockworks Ultralight bumper on it (which negated the need for the Apex Overland recovery points) and put them on his 4Runner. This was a very simple task, and we had it complete within about 20 minutes.

The next portion of the day’s events took much longer, mostly because we needed to buy some tools to get the job done, namely the 4.25” circle saw. I had purchased a TJM snorkel for the Gunship, but it wouldn’t fit due to the roof rack. So, I decided to make it an early Christmas present for my son, one that will come in handy next week on the trails we will be on as he will be the trail vehicle (I will be lead).

We began the process with Brendon taking out the air box and disconnecting the requisite pieces. He then removed the lining of the passenger side front wheel well which wasn’t very easy to do because of the way the clips are put in. But, Brendon got that part done and we began the process.

Brendon preparing to drill holes in a perfectly good fender.

I cut out the fender template and taped it onto the vehicle while Brendon got the drill out and drilled out the necessary holes. He then cut out the larger hole for the TJM snorkel.

Holes in the fender.

After test-fitting the snorkel, the next scary part of the job was drilling two holes into the A-pillar. He measured twice and drilled those two holes carefully (and they were perfect). I then helped mount the snorkel by reaching up into the fender and tightening the top-most nut as the area was tight and my arm/hands are smaller than my son’s.

Once we got the snorkel bolted on, Brendon connected the portion inside the fender that connected the snorkel to the air box and we finished up that part of the job.

The beauty shot with the red Apex Overland recovery point visible beneath the fog lights and the snorkel prominently in the middle.

We then moved on to working on both of our rigs at the same time, mounting ARB differential breathers. These were super-simple to do, and took roughly 30 minutes to complete from first wrench-turn. We will now feel safer with water crossings.

We finished up around 7 pm, and we were both smiling. We got a lot done, his 4Runner has some added cool factor and usability, and he told me last night he was even getting slightly better gas mileage.

Our next big trip starts later this week, so expect a lot more here soon!

Categories
Mods Overlanding

Shrockworks Rear Bumper

This past week, I was finally able to pickup the completed rear bumper with tire carrier from Shrockworks. Since they’re local and only 20 minutes away from my home, it’s incredibly convenient for me to do local pickup on items I buy from them. After my friend Kenny helped getting the bumper home (we put it in the back of his Tacoma), my son helped me put it onto the Gunship.

The instructions were pretty straightforward, and I watched two installation videos on YouTube to get a better understanding of how to get the bumper mounted. The first step was to remove the bumper cover from the Gunship as well as some fender liners and other parts. This was simple and took less than 30 minutes.

Gunship with her rear bumper removed.

Prior to mounting the Shrockworks bumper onto the Gunship, there was some minor assembly required of the stops that keep the swing-arm from slamming into the bumper when closed. It was here that I made a mistake in not putting two of the 1/4” pieces on, and this would prove to be an added difficulty once the bumper was mounted. From here, it was just a matter of mounting the new bumper onto the existing bumper which was actually the rear of the frame.

We put the shims under the rear mounting portion to level the “Wings” of the bumper as much as possible, and then tightened down all the bolts. The sticknuts weren’t difficult to place unlike the two we needed to use when putting on the rock sliders. The next step was to put the wing supports on, and once again, these were easy to do.

After getting the entire bumper properly mounted and all bolts tightened, I put the swing-arm on. This swing-arm is where the spare tire and two jerry can holders are mounted. It took the help of my wife to get the large bolt in-place, but it was easy enough to get it properly set. It was then that I discovered, as I stated earlier, that I didn’t have enough of a bump stop between the swing-arm and the bumper which required me to get the additional 1/4” hard plastic on. This took nearly as much time as it took to get the entire bumper on due to the strange and cramped position I had to get my hand into to properly secure this additional piece of plastic. It did, however, get mounted properly, and the result was a properly and firmly closing swing-arm.

The bumper and swing-arm both mounted and set for the final step.

The final step was, for me, the scariest; cutting of the stock bumper cover. This step required concise measuring and careful cutting to ensure uniformity of the space between the bumper and the fender. Fortunately, my son is a mechanic at a custom off-road shop, and he has a lot of experience cutting body parts. He expertly trimmed the plastic and the result was a very clean look.

I’m pleased with the build quality of the bumper. The powder coating is well done with only one spot that didn’t properly coat; the top of the swing-arm, near the high-lift jack mount. After a light rain, I spotted rust there. I will have to paint in that spot to keep it from spreading. I also didn’t receive about a dozen of the necessary bolts to complete the project requiring me to go to Lowe’s to pickup the necessary hardware. As for the latches to fit over the water jugs, I had to bend them slightly to allow them to close. Aside from these minor issues, the fit and finish is outstanding.

The swing-arm opens easily, and it has a hold-open that keeps the arm from slamming into the 4Runner or to close when the tailgate is open. The spare tire mounts easily, and the license plate holder and light, both included, were easy to install and to get wired with minimal effort (you will need a connector and solder). The bumper also has two hard points onto which bow shackles/D-rings can be attached for recoveries.

The two modifications my son and I made are visible here: the area above the bumper and the non-skid surface.

Two modifications my son and I made to the procedure. First, we cut the center portion of the stock bumper in such a way that it covered the gap between the bumper and the body of the Gunship. This makes it look nicer and gives it a more finished look. Second, I put some grip tape on the top of the bumper so that it is non-slip when we step up onto it (which we do every time we put the rooftop tent up or put it away.

I recommend the Shrockworks Rear Bumper as a good addition to any overlanding or off-road 4Runner as they are well-made, they look good, and they are reasonably priced.